Our Industrial CT Scanning Services
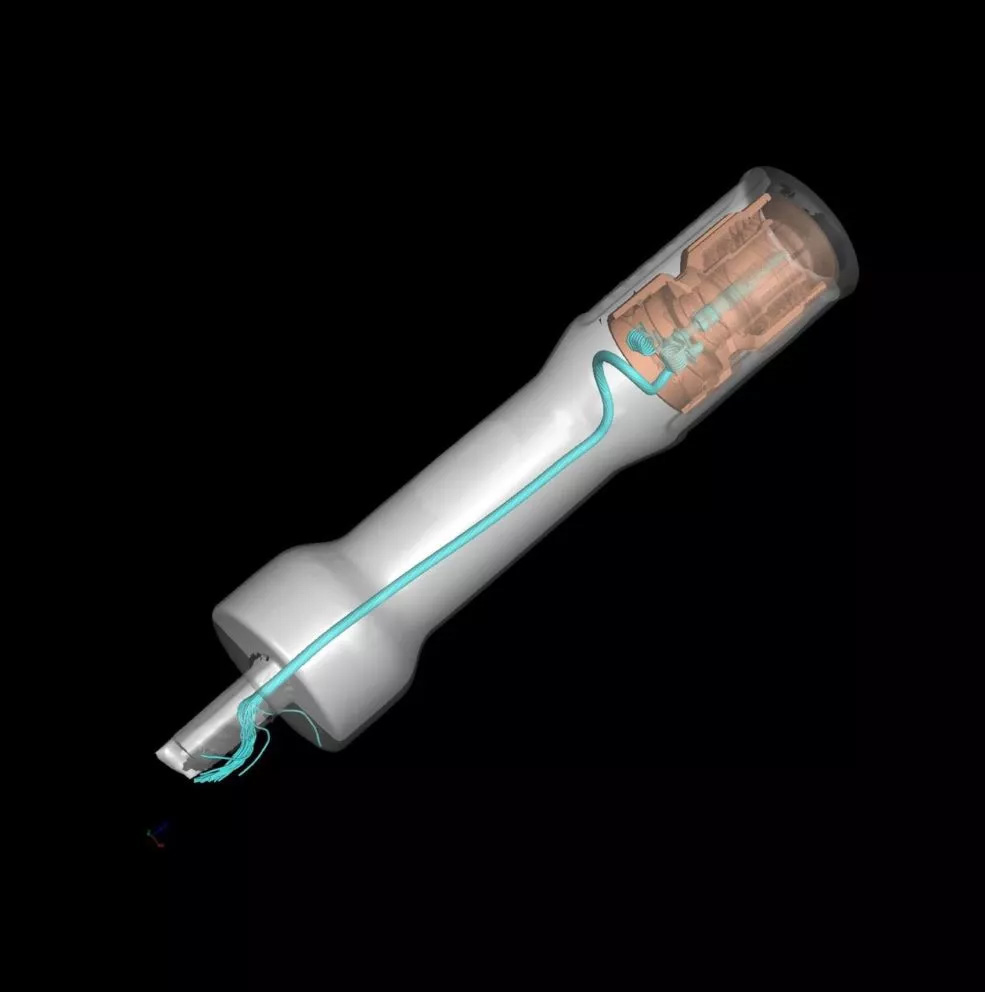
Unparalleled access to parts, assemblies, and materials. Industrial Computed Tomography (CT) scanning works much like a medical CT scan machine — it captures internal and external features of a component, assembly, or material in astonishing detail.
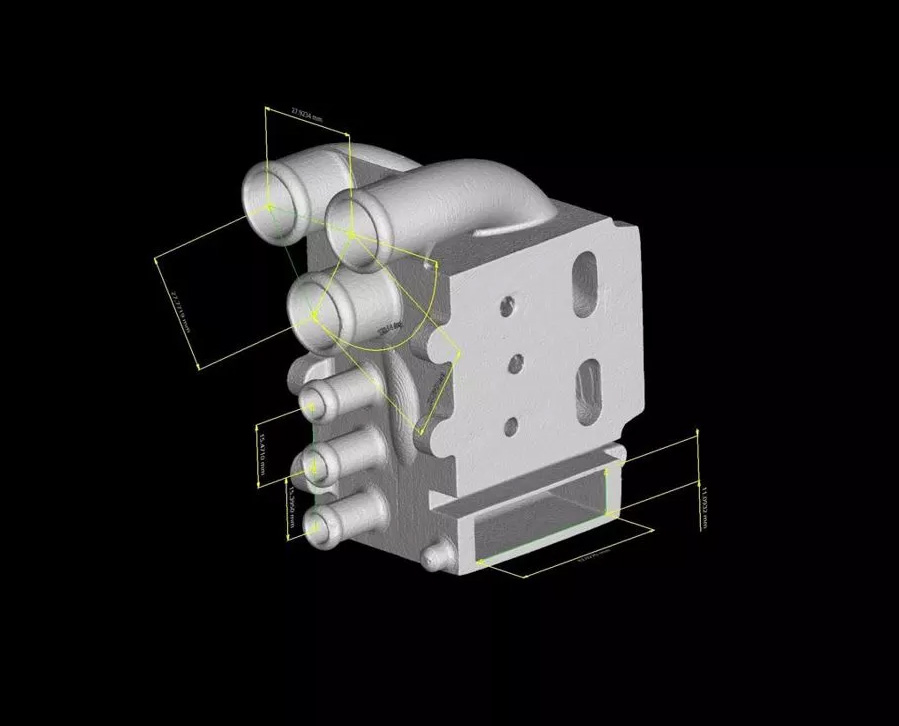
NON-DESTRUCTIVE DIMENSIONAL METROLOGY
Industrial Computed Tomography (CT) scanning works much like a medical CT scan machine — it captures internal and external features of a component, assembly, or material in astonishing detail. In fact, it’s the only technology that lets you peer beneath the surface without destroying it, making it the leading method for non-destructive testing, 3D inspection, and analysis.
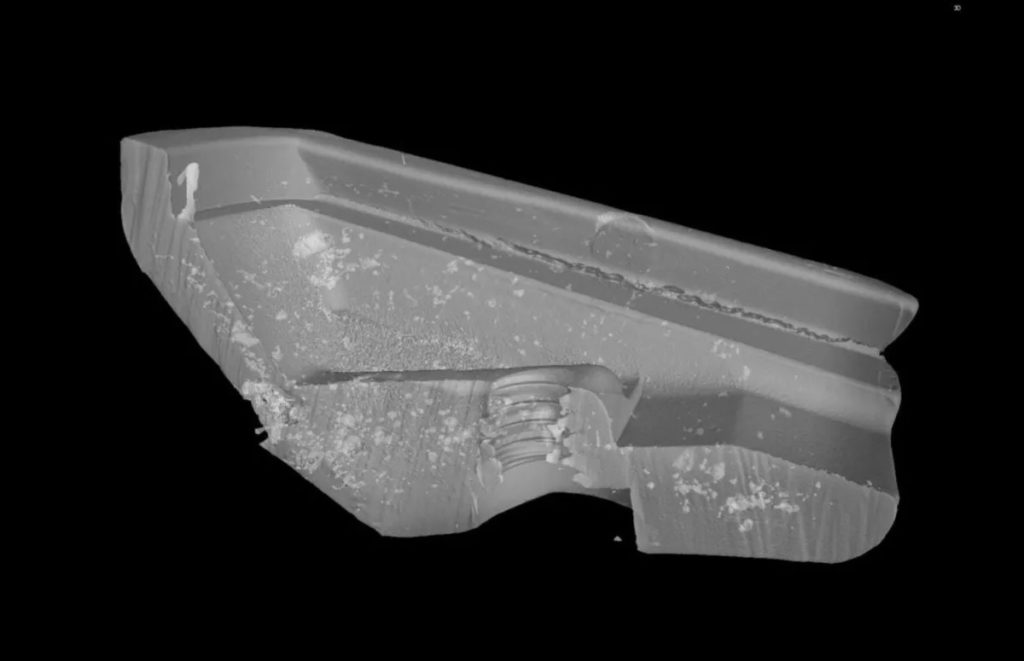
With just a quick industrial CT scan, we produce a 100% digital twin. Using this data, we can analyze every structural and dimensional aspect of a part or assembly from a single scan, perform metrology and material analyses, reverse engineer to CAD, and even perform FEA with as-built data.
Industrial CT Scanning Applications & Process
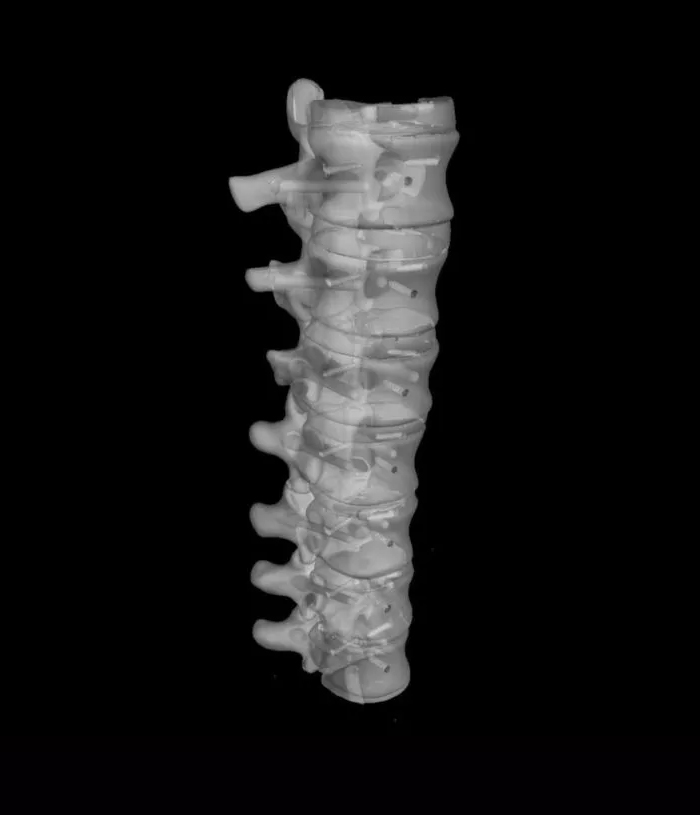
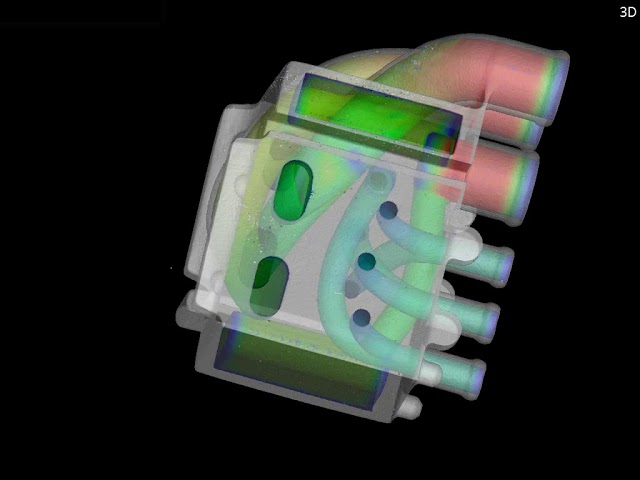
We help you visualize your parts using three-dimensional reporting techniques to create high resolution images and videos. We use Volume Graphics and Polyworks for all of our industrial CT scanning visualization and analysis.
No longer limited to measuring only exterior surfaces, industrial CT scanning offers the ability to capture interior features of parts and assemblies. It is the same technology that has been used for many years in medical imaging. We help you visualize your parts using three-dimensional reporting techniques to create high resolution images and videos. We use Volume Graphics and Polyworks for all of our industrial CT scanning visualization and analysis.
X-RAY INSPECTION
Root Cause Failure Analysis
Material Analysis
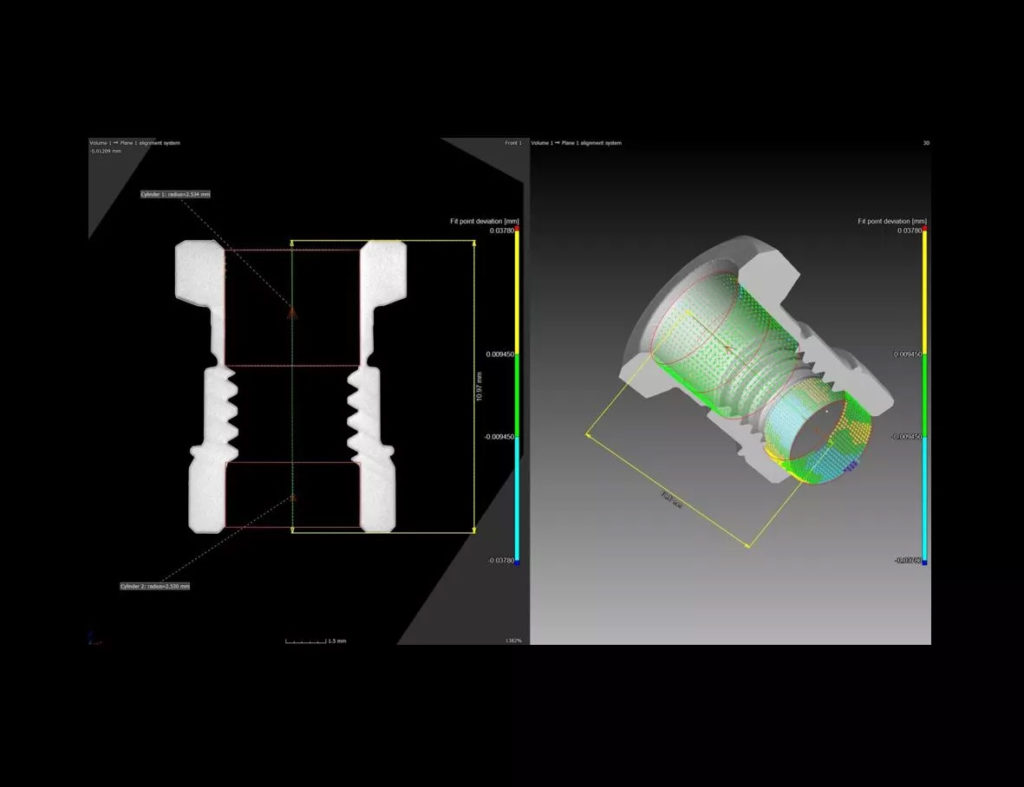
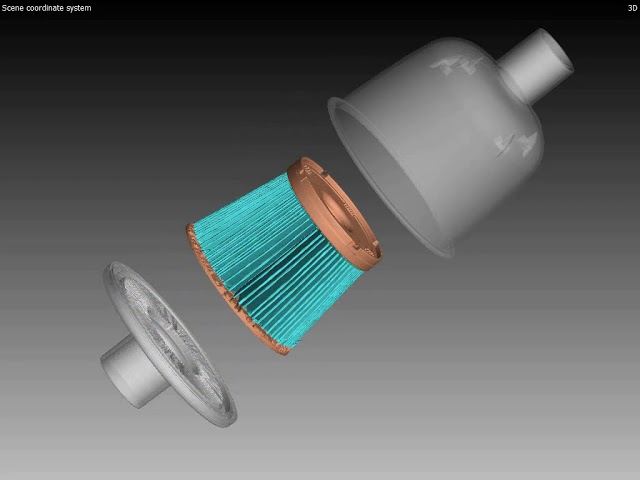
Part to CAD Comparison
Compare 3-dimensional scan data to a CAD model.
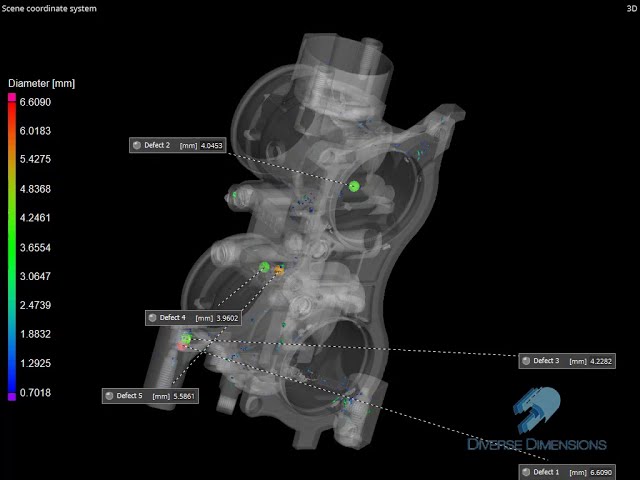
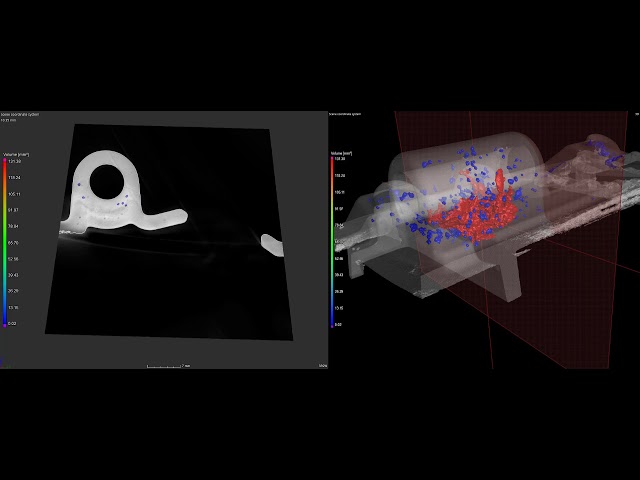
Porosity Analysis
Identify and quantify voids and inclusions in plastic, additive manufacturing (AM), and cast parts. Proactively mitigate quality and performance issues.
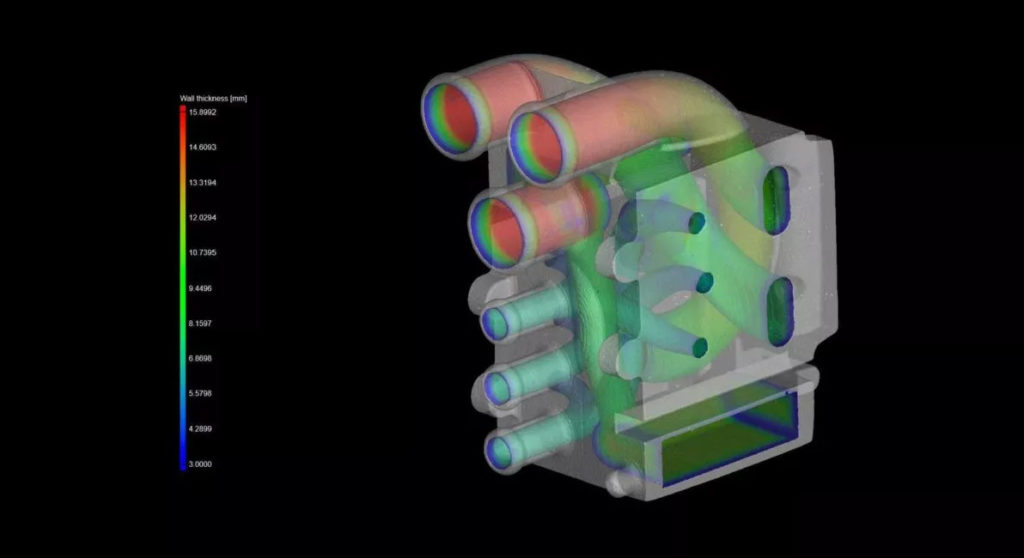
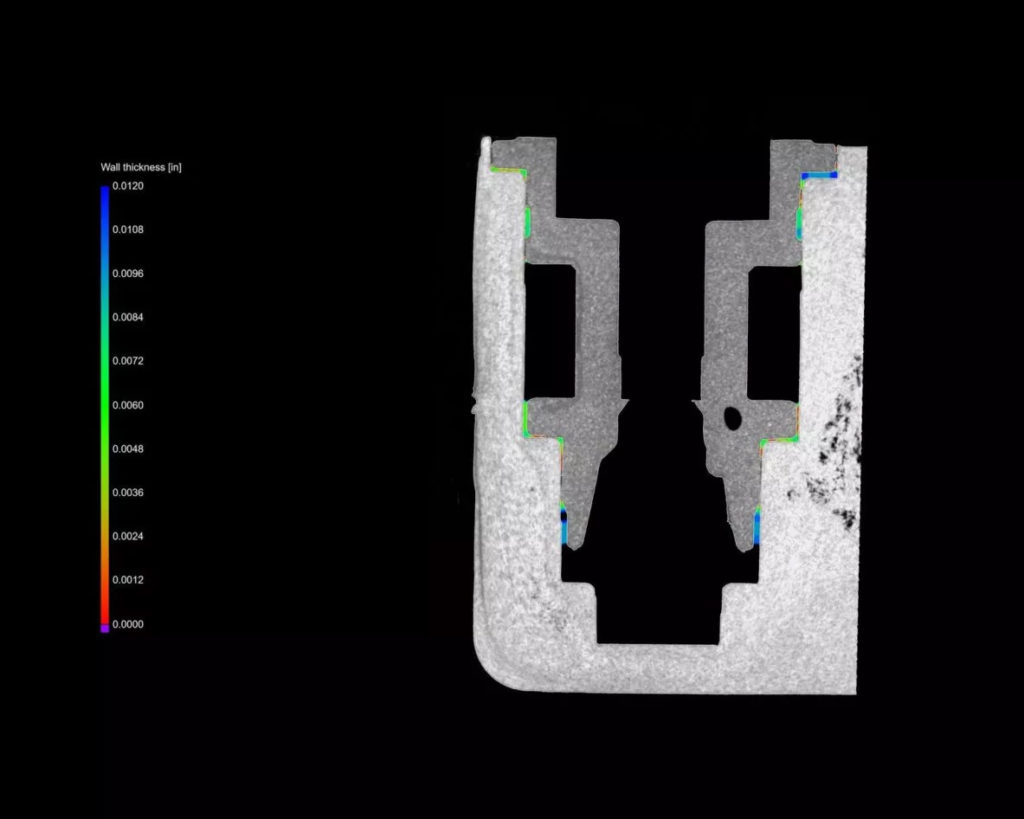
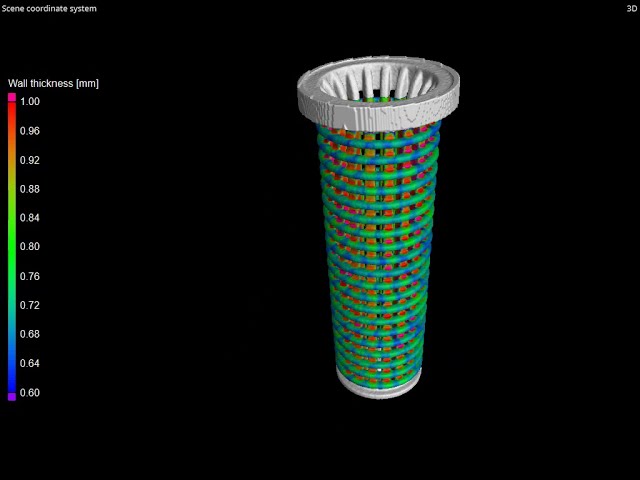
Wall Thickness Analysis
Measure thickness and material distributions across a part where consistent thickness ensures part conformity and performance. Can also be used to measure coating thickness in certain applications.
Welding/Bonding Quality Verification
Inspect and verify the quality and consistency of welds. Identify cracks, voids, and porosity.
Fiber Alignment Analysis
Check the location and orientation of fibers in composite materials.
Failure Analysis (FEA)
Identify inconsistencies that affect part, item, or assembly performance. Perform FEA on as-built data rather than CAD model.
Reverse Engineering
Create a CAD model from as-built data. Data available in STL, STEP or IGES formats. We can also create tetrahedral meshes for FEA simulation. Exportable in ABAQUS and PATRAN formats. Learn More.
Benefits of Our Non-Destructive Industrial CT Scanning
No longer limited to measuring only exterior surfaces, industrial CT scanning offers the ability to capture interior features of parts and assemblies. It is the same technology that has been used for many years in medical imaging.
Choose Diverse Dimensions
for Thorough & Accurate Industrial CT Scanning
Whether you choose in-house or on-site, let our large team of committed metrologists put their extensive experience to work for you. No matter your issue or concern, we’re dedicated to finding metrology solutions and uncovering ways to save time, money, and make product or production improvements.
