Using Industrial CT Scanning to Find Casting Defects
If your metal component leaves the factory with tiny porous holes in it, you’re bound to receive a barrage of complaints from angry customers. Having no knowledge of the casting defects while they were under your control, you’re left wondering how this could have happened.
So what’s the next step and where do you begin to troubleshoot? Industrial CT scanning is ideal for this type of situation because you can expect a precise inspection process with accurate and unbiased data, regardless of which stage of manufacturing you’re in. The CT scanner can test of a wide range of castings made from a variety of materials, including die cast, forgings, sand cast, and castings made from metals like aluminum, brass, steel, and titanium.
Stages of Casting Quality Control
- Pre-Production – This is a vital step to saving you time and money in the long run. Internally inspecting your product with a CT scanner will allow you to reduce risk, ensure accuracy, decrease time to market, and give you the peace of mind that you’re going into production with a repeatable process that creates the highest quality parts.
- Production & Inspection – When failure is not an option, CT scanning is the way to go because production parts can be inspected at the highest standards of quality.
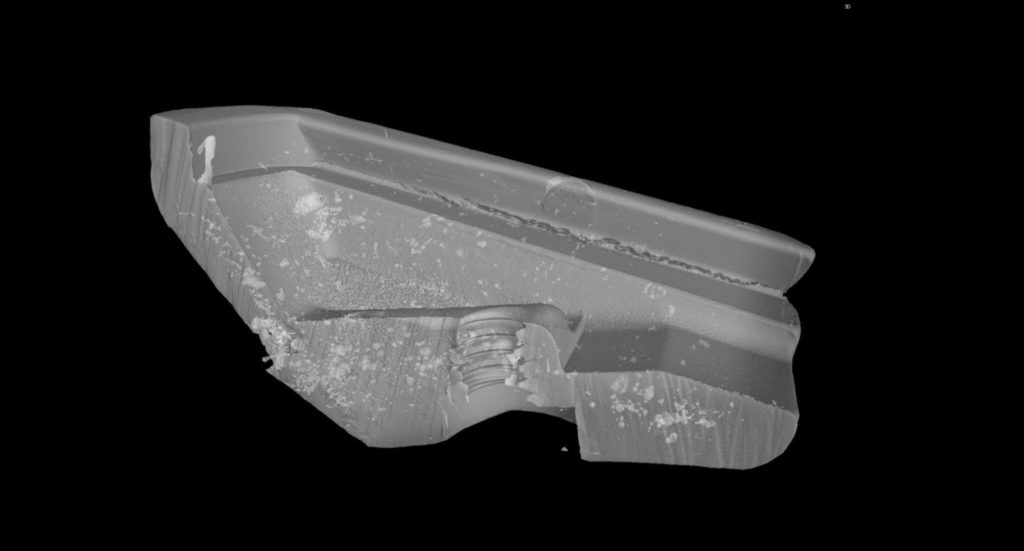
- Failure & Defect Inspection – Non destructive testing methods like industrial CT scanning can identify internal part defects like gas porosity, shrinkage, and things you can’t see with the eye.
Potential Casting Defects
- Gas porosities or pinholes – Gas porosity can happen when gas gets trapped in the metal during the casting process. If the solid metal form can’t hold as much gas as the liquid, bubbles will appear, taking on the shape of tiny pinholes or cavities in the metal.
- Shrinkage – Shrinkage can occur during the solidification process because metals are less dense as a liquid than a solid
- Issues or defects with the mold or casting – Defects can occur when the metal is poured into the mold or when there is something wrong with the actual mold/casting.
Benefits of Industrial CT Scanning
A non-destructive testing method, CT scanning gives us a look inside object, generates precisely accurate internal dimensions, and generates extremely high resolution imaging. Any object can be scanned, no matter the shape or size, and there is no post-processing work required. Additional benefits of using industrial CT scanning for non-destructive product testing include:
- Highly accurate measurements (+/-.010mm)
- Development and inspection costs reduced
- Product quality is improved, reducing the risk of recalls
- Pre-production inspection is reduced for complex parts
- CT scanning is one of the only methods that can provide data and results at this level of accuracy
- Identify dimensional issues
- Improve product quality and production efficiency
- Quick turn-around times allow for faster production
- No shaded zones
- Compatible with all shapes & sizes
- No post-processing work necessary
Casting Defect Questions?
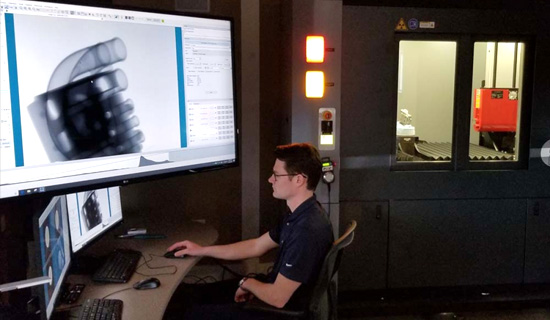
If you’re experiencing casting defects or you want to make sure there is no potential issue, we can talk more about the industrial CT scanning process and how it can benefit you. At Diverse Dimensions we use an RX Solutions EasyTom Nano High Resolution CT system. This is a state-of-the-art, highly flexible X-ray CT scan system with six linear motorized axes allowing for optimized magnification for a variety of sample types and scanning configurations. We can set up a time to show you the CT scanner in action and discuss how NDT can benefit you.

