Using Industrial CT Scanning for Nondestructive Testing (NDT)
Not long ago the ability to see through a solid object, much less measure the inside, only seemed possible by means of completely destroying it. Advancements in industrial CT scanning have opened up a host of possibilities for manufacturers. When you need to diagnose internal issues, determine precise measurements, and inspect the inside of your product using a nondestructive testing (NDT) method, industrial CT scanning is the best route to get you there.
Commonly known for its use in the medical industry, CT scanning, or computed tomography, has evolved into an invaluable tool in the field of manufacturing and the opportunities that now present themselves are endless. The main advantage of CT scanning is being able to inspect the inside of a part or object without causing any harm or destruction to the objects themselves, also known as nondestructive product testing (NDT).
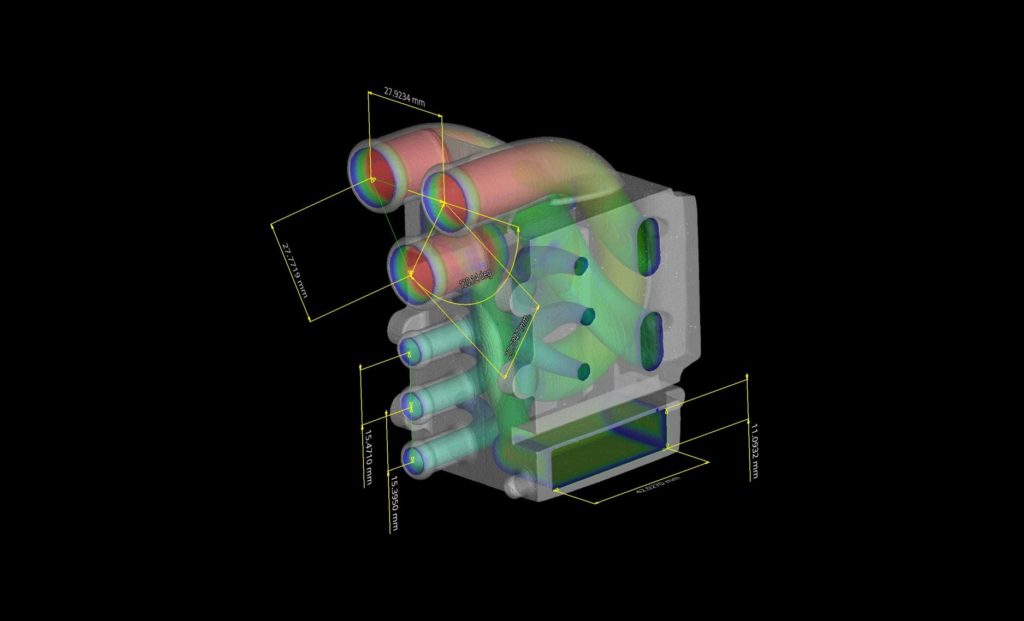
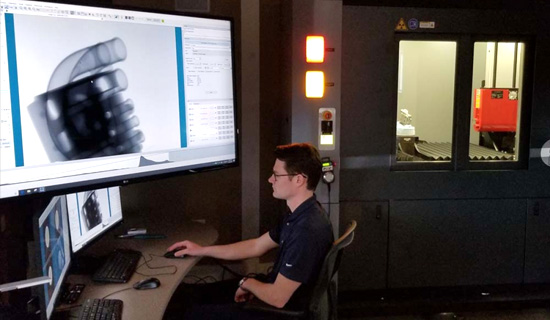
An industrial CT scanner uses the same type of technology as the CT scanner that you’re used to in a hospital setting – it takes multiple readings from various angles and converts the CT grey scale images into voxel-based 3-D point clouds. Once the point cloud is generated, a CAD-to-part comparison map is created. We can then construct a 3-D model or reverse engineer the part.

Diverse Dimensions and our CT scanner were featured in Metrology News. Read the full article here.
Benefits of Industrial CT Scanning
In simple terms, industrial CT scanning can save you time, reduce costs, and add value, but there’s much more to it. This technology allows us to obtain the internal structure of an object nondestructively, generate precisely accurate internal dimensions, compare parts to reference models, and generate extremely high resolution imaging. The end result yields no shaded zones, any object can be scanned regardless of shape and size, and there is no post-processing work required. Additional benefits of using industrial CT scanning for nondestructive product testing include:
- Highly accurate measurements (+/-.010mm)
- Development costs are reduced in creating the first CAD model, plus inspection costs are reduced
- Product quality is improved to reduce the risk of recalls
- Pre-production inspection and analysis are significantly reduced for complex parts
- CT scanning is one of the only methods able to provide this type of data and results
- Ability to identify dimensional issues
- Improve product quality and production efficiency
- Fast turn-around times allow you to get to production faster
- No shaded zones
- Compatible with all shapes & sizes
- No post-processing work is necessary

When should you use Industrial CT Scanning?
CT scanning can be used throughout the manufacturing process, applications include:
- Pre-production/prototype stage – Discover potential issues early-on
- Production stage – When part failures are not an option
- Internal Failure Inspection – Identify internal misalignments, cracks, porosity, dimensions that are out of tolerance, and deviations from the original design. Through the scans, the part can be virtually sliced at any given angle, allowing you to see exactly what’s going on inside.
- Reverse Engineering – We can take measurements of your existing part and create an exact CAD replica.
Real World Example
We recently had a furniture client bring us on board to identify a warranty issue. They needed a thorough analysis to determine if product cracking was due to the paint or the MDF substrate. After CT scanning and analyzing the findings we discovered the issue was located in the MDF. After CT scanning and analyzing the findings we discovered the issue was located in the MDF. Here’s a video we took of the scan.
<iframe width=”100%” height=”450″ src=”https://www.youtube.com/embed/xjCbqFgfOck?controls=0″ frameborder=”0″ allow=”accelerometer; autoplay; clipboard-write; encrypted-media; gyroscope; picture-in-picture” allowfullscreen></iframe>
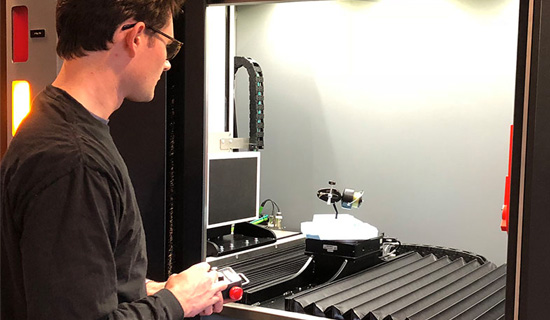
At Diverse Dimensions we use an RX Solutions EasyTom Nano High Resolution CT system. This state-of-the-art, highly flexible X-ray CT system has six linear motorized axes enabling optimized magnification for a variety of sample types and scanning configurations. The EasyTom Nano has numerous benefits, including:
- Tomography at a sub-micron scale with single or dual tube configurations
- Highest resolution 3D CT: 0.35 µm
- High precision granite table that guarantees stiffness, stability and positioning using high precision linear encoders
- Multiscale acquisition
- Multiple detectors
- Designed for in-situ CT experiments

MiBiz featured Diverse Dimensions and our industrial CT scanner. Read the article here.
Get in Touch
Want to see the CT scanner in action or talk about how NDT can benefit you? We’re happy to schedule a time to show you more, either in person, or via video call.
