Surface/Nurbs Modeling
Surface modeling allows for rapid, accurate, as-built CAD model creation from scan data. This data is commonly used in reverse engineering and prototyping applications in a wide variety of industries.

Surface modeling allows for rapid, accurate, as-built CAD model creation from scan data. This data is commonly used in reverse engineering and prototyping applications in a wide variety of industries.

It’s been a busy year, but we found time to create a new company video that shows a variety of ways we service our clients.
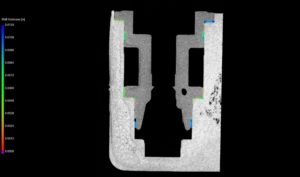
Knowing where a part’s potential weaknesses lie can be a huge cost and time savings, especially if you’re working with high volume part runs. By using industrial CT scanning, we can identify areas that are prone to weakness, or where the wall thickness has reached undesired values.
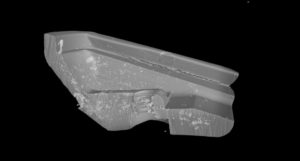
If your metal component leaves the factory with tiny porous holes in it, you’re bound to receive a barrage of complaints from angry customers. Having no knowledge of the casting defects while they were under your control, you’re left wondering how this could have happened.
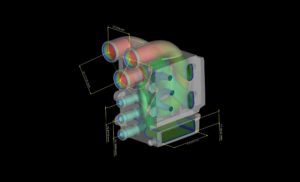
Not long ago the ability to see through a solid object, much less measure the inside, only seemed possible by means of completely destroying it. Advancements in industrial CT scanning have opened up a host of possibilities for manufacturers. When you need to diagnose internal issues, determine precise measurements, and inspect the inside of your product using a nondestructive testing (NDT) method, industrial CT scanning is the best route to get you there.
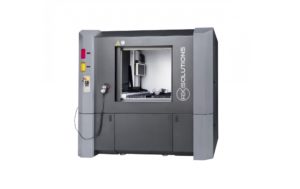
CT scanning is a relatively new technique being used in manufacturing to help increase quality control. Using x-ray technology, CT scanning is ideal for non-destructive testing and inspection in order to locate and measure volumetric detail in three dimensions.